
This guide provides step-by-step instructions for the proper installation of Reviver's Wired RPLATE. Please note that vehicle configurations may vary, so adapt the instructions accordingly. Please read full guide before starting installation.
DISCLAIMER: Please be aware that since the video was filmed, Reviver has included an extra step in the wired installation process called the quick disconnect. It is important to carefully follow the instructions provided below. For any questions on installation please contact 650-479-9896 or email installationsupport@reviver.com.
To ensure proper operation, professional installation is required. Any installation done outside of approved Rplate installers may void the warranty and could cause damage to the Rplate or vehicle.
Tools Required:
Screwdrivers with various bits: Philips, flat, Torx, and Hex
Drill
Impact driver
Panel tools
Clip removal tool
Wire cutters
Wire stripper
Crimping tool
Pliers
Ratchet with sockets set
Flush cutter
Utility knife
Multimeter and/or powered test probe
Utility blanket
Wire snake tool
Portable torch
½ drill bit
Work light
File set
Pick tool set
Cordless Dremel
Safety glasses
Materials Required:
14 or 16-gauge primary wire
Wire loom or sheathed wire harness
Fuse holders mini or micro & corresponding 5amp fuses
Butt connectors 22-16 and 16-14 sizes
Heat shrink butt connectors 22-16 and 16-14 sizes
Ground ring terminals 16-14, #6, ¼, and 3/8
Lock washers #8 size
Fuse taps in single/dual micro/mini
Electrical tape
Tesa tape
Wire ties in various lengths
Rubbing alcohol
Microfiber towels
Silicon spray
Extra screws for mounting bracket
RPLATE Contents List:
.png?width=688&height=387&name=Screenshot%202023-08-23%20at%203.59.34%20PM%20(3).png)
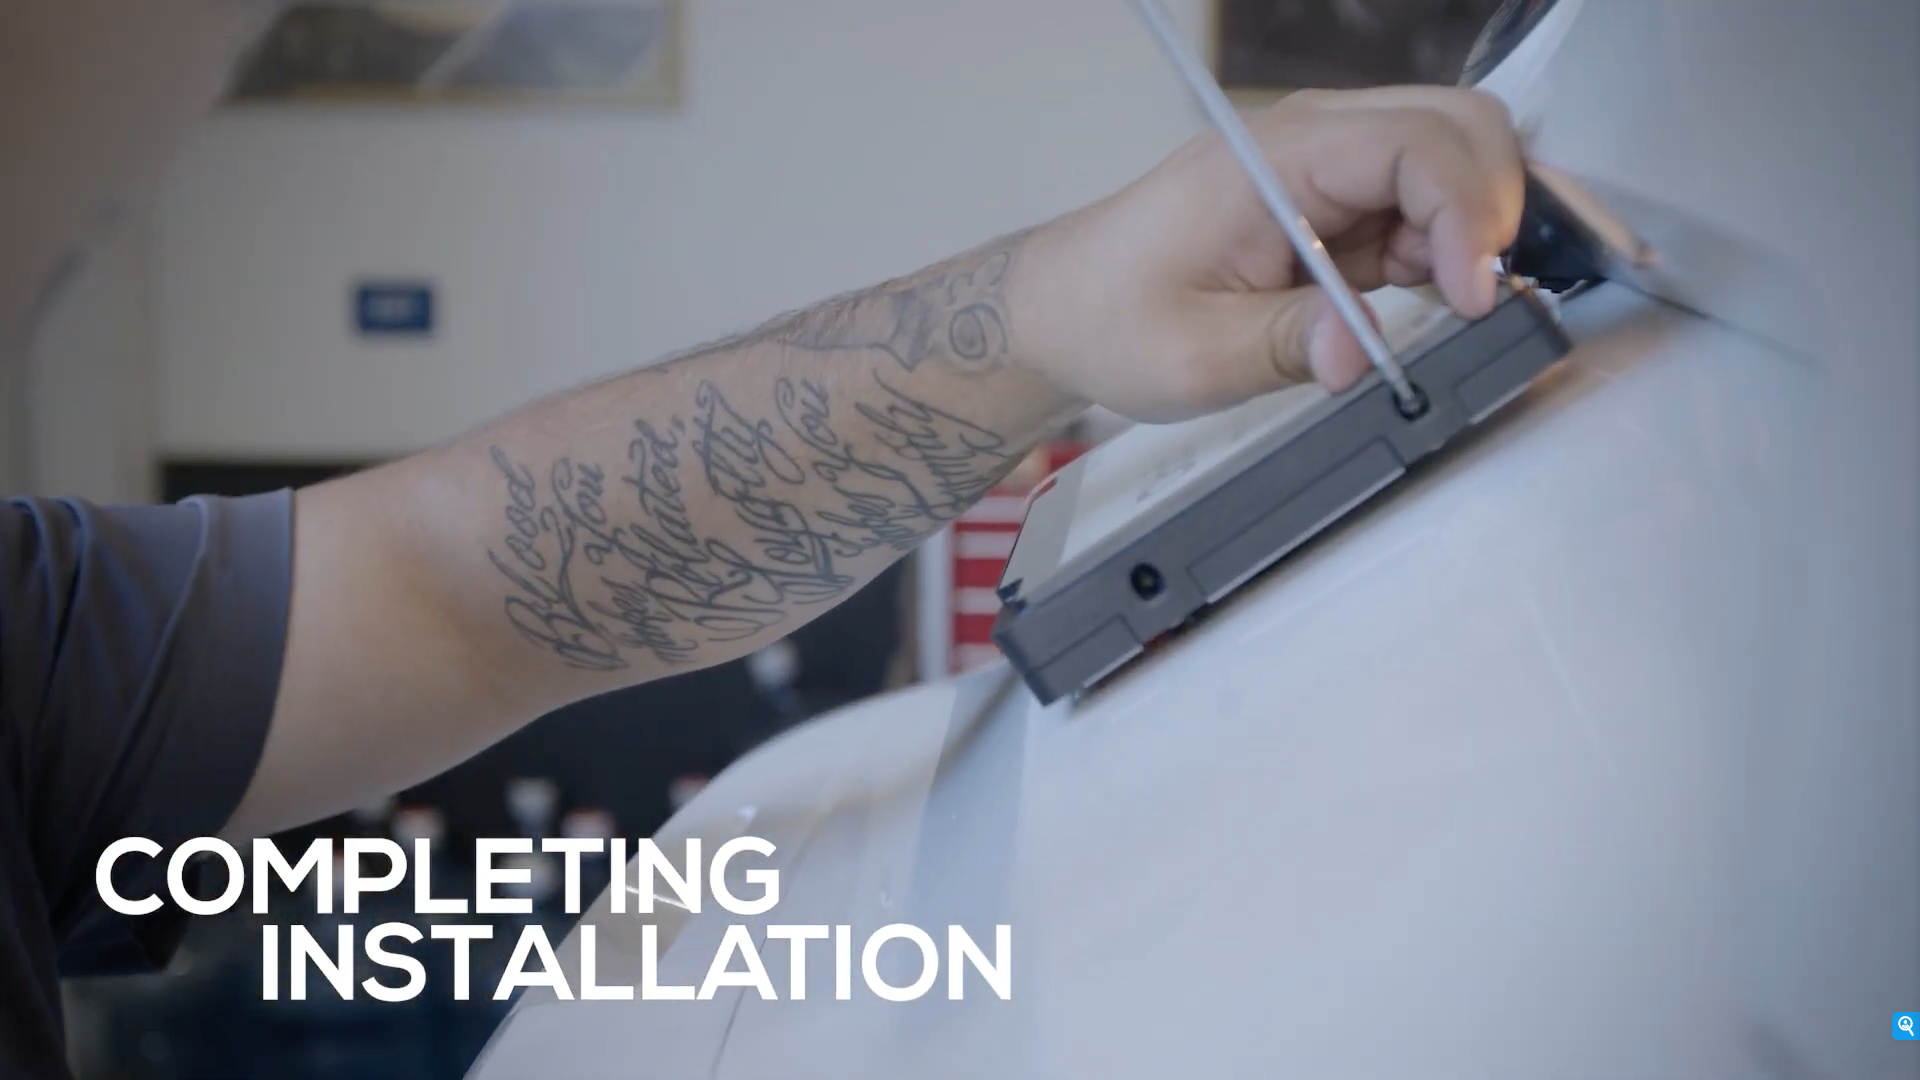
Installation Steps:
1. Verify correct plate and vehicle and inspect for existing vehicle damage.
1a. Notify customer of any existing damage in the area you will be working on.
2. Locate power source, ideal location being fuse box or battery.
2a. Use a multimeter or powered test probe to verify constant 12 volts.
2b. Some vehicles will have circuits that maintain 12 volts when vehicle is turned off but will lose power after an extended time. Always test that the source maintains power 10 minutes after vehicle is turned off.

3. Remove existing plate and any other mounting hardware.
4. Remove interior paneling from trunk or cargo door.
5. Install RPLATE mounting bracket using factory hardware and supplied washers. Mounting plate is marked with arrows where screws go to keep factory plate location. Use double-sided tape on bracket to affix bracket when no lower mount points are present.
5a. Some installation may require shifting the bracket or using different mounting screws.
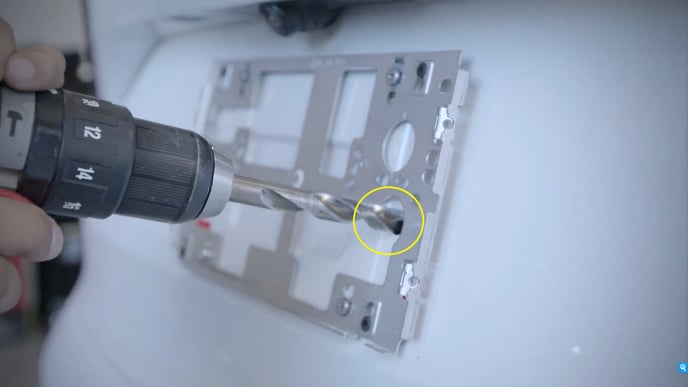
6. Locate spot for drilling access hole and check for clearance on backside. Drill hole using ½ inch bit.
7. Insert rubber grommet and cut hole in center for wire access. RPlate may come with quick disconnect plug and grommet preinstalled.
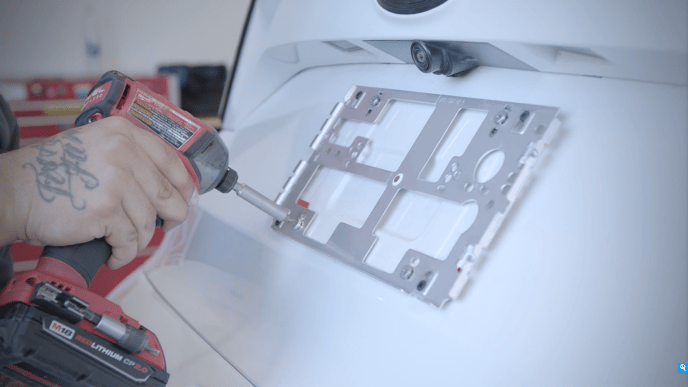
8. Feed RPLATE wire harness through grommet. Mount RPLATE to bracket by sliding onto the bracket’s left side and push right side flush. Use supplied T10 set screws to secure RPLATE.
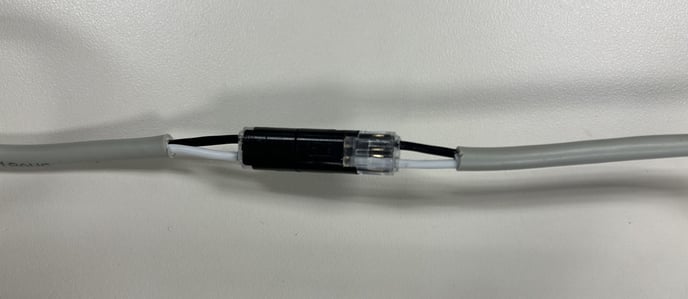
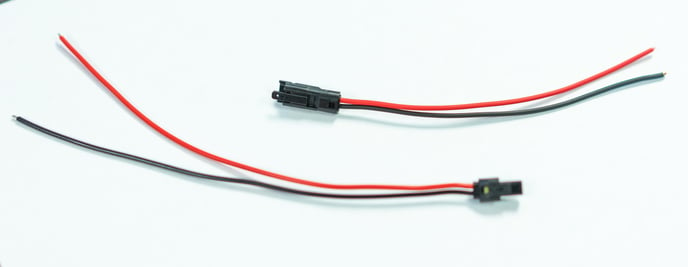
9. In the RPLATE harness, the white wire is for positive 12-Volts constant, and the black wire is for negative ground. Dependent on grounding location, one or both wires from RPLATE harness will need to be extended to reach power and ground location. Use proper sized butt connectors to join wires and 14 or 16-gauge wire is needed for proper installation. All connections should be wrapped in Tesa tape. All wiring run on the exterior of the vehicle requires heat shrink connections and sheathed or wrapped wiring. Leave enough extra wire inside vehicle behind the plate to access quick disconnect in the future if necessary.
10. Depending on the vehicle type, wire routing varies.
10a. Cars and SUVs will need wires routed along factory harnesses inside vehicle to battery or fuse box. Locations with mostly be either under dash area, cargo area, or trunk. Wiring can be run under headliner edge to dash area or under door sill panels. Any wiring run along headliner should run to not interfere with airbags.
10b. Trucks will need wiring routed along frame into cabin dash area. Wiring should be secured to factory harnesses using wire ties.
10c. Wiring should not be run near areas of excessive heat such as exhaust systems and near engine in rear engine vehicles.
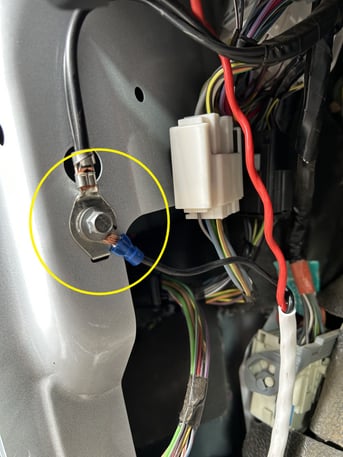
11. Ground connection should be either a factory ground bolt or self-drilling screw ground with lock washer or area with paint removed. Ground should not be done within trunk deck or cargo door area unless it uses factory ground location. All grounds require a proper sized ring terminal.
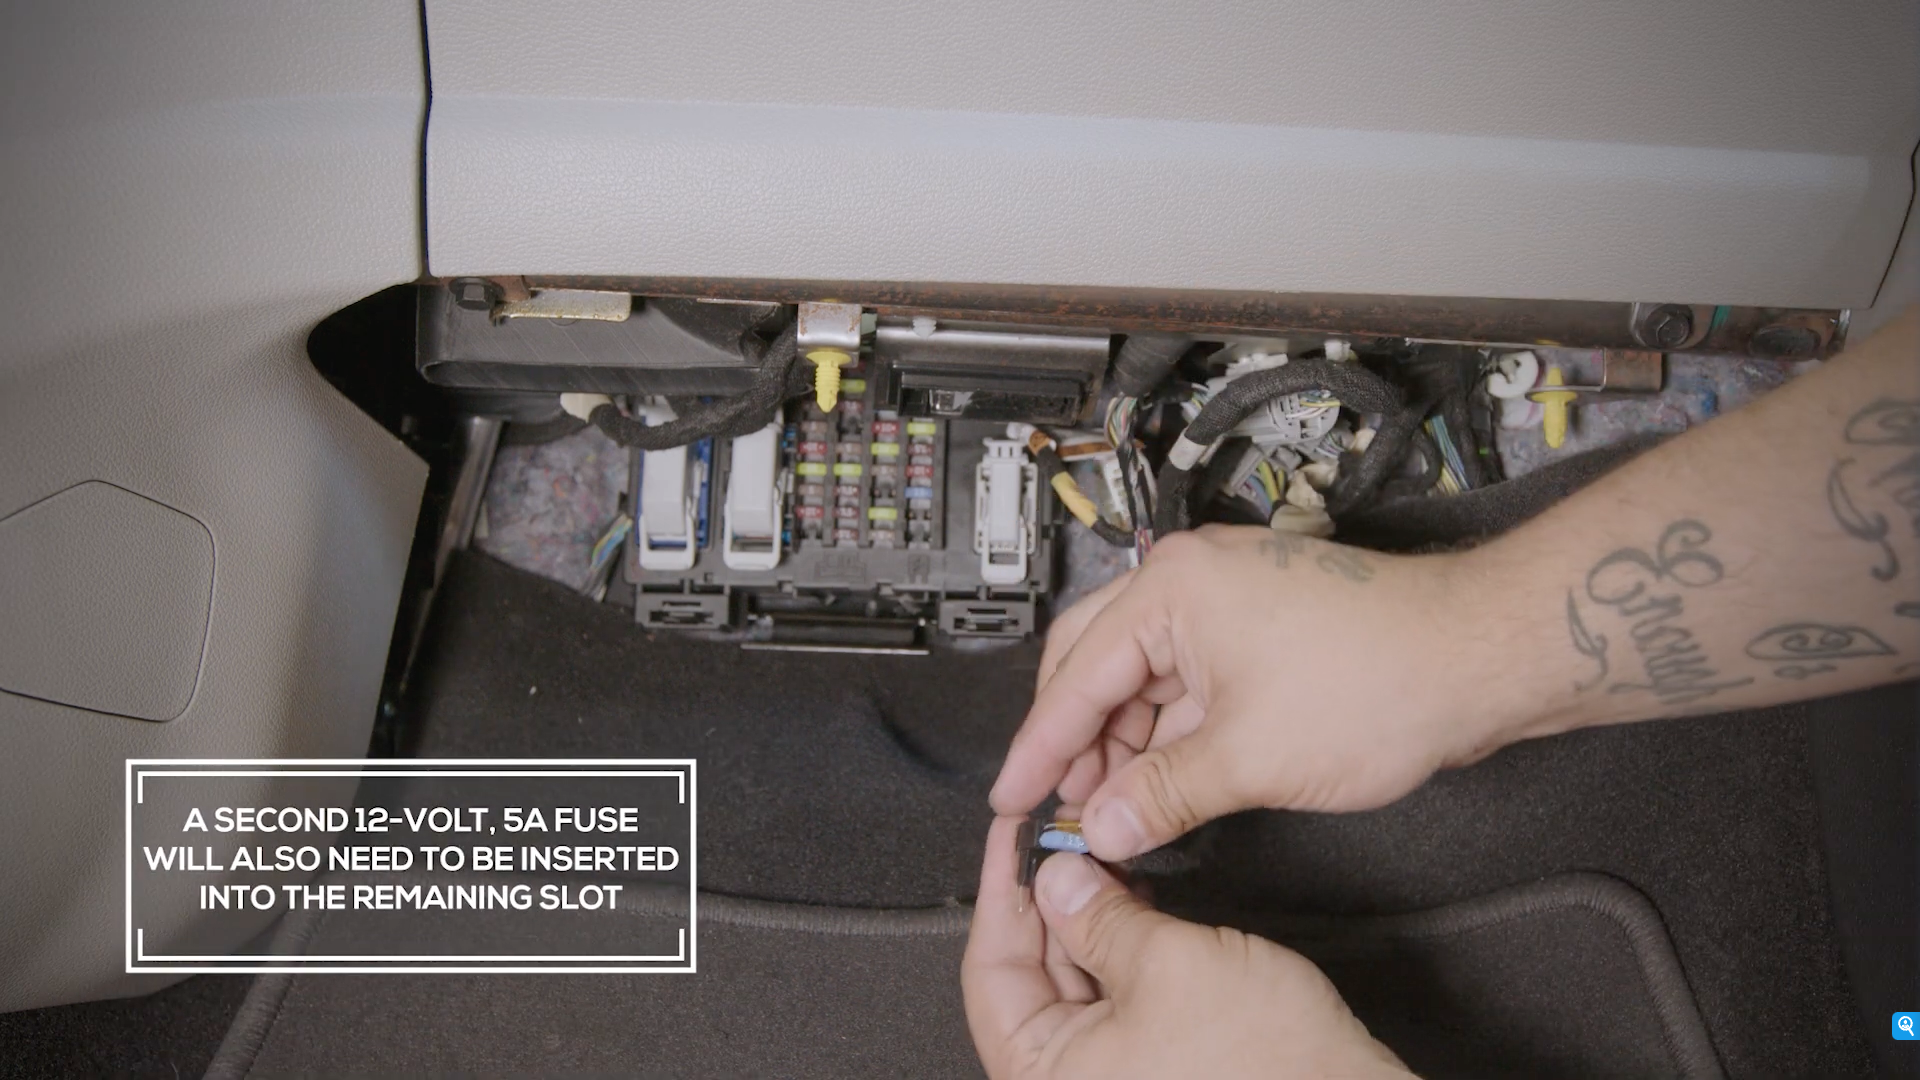
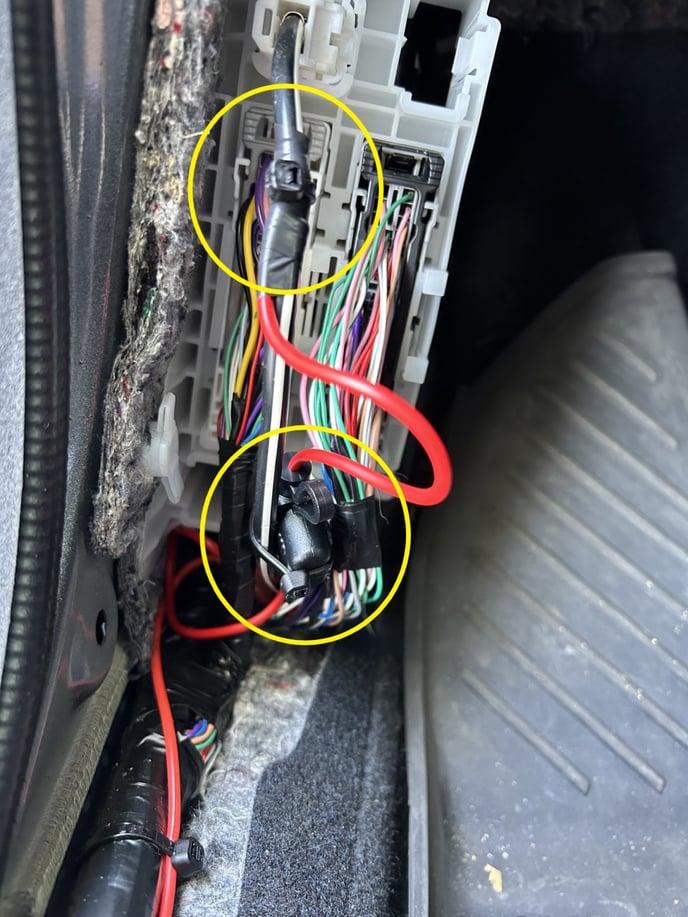
12. Power connection requires a 12-volt battery constant with a 5-amp fuse. Connections can be ring terminal on battery, poke and wrap connection on fuse box main power, or fuse tap on fuse box.
12a. Battery and wrap connections require fuse placement to be close to the source as possible. Wrap connections require all wraps to be secured with wire ties.
13. Once all connections have been made reboot the RPLATE by pressing and holding button for 8 seconds. A rebooting message should appear on the RPLATE and the image will load. Once image has loaded, reboot for a second time to fully activate the RPLATE.
14. When the RPLATE has been verified to be working, secure all wiring with wire ties.
15. Cover set screws with supplied adhesive screw covers.
16. Document with pictures, the power connection with fuse, ground connection, and image of working plate if needed.
17. Reinstall any removed paneling and clean work area.
Sync the RPLATE
.png?width=688&height=387&name=Screenshot%202023-08-23%20at%204.03.22%20PM%20(3).png)
-
- If you have fleet vehicles under a Reviver fleet contract, you will need to follow the procedure for assigning the RPLATE to the desired vehicle on the fleet dashboard. Once you see a license plate image displayed, it means that the RPLATE has been successfully provisioned. If you encounter any issues with provisioning on the dashboard, please contact support through the RFLEET Portal at https://rconnect.rplate.com/fmc-dashboard.
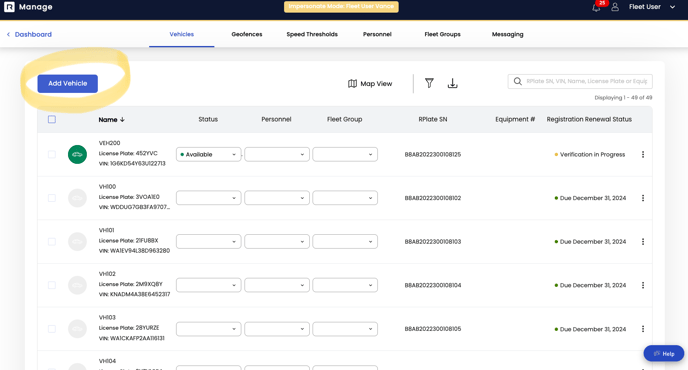
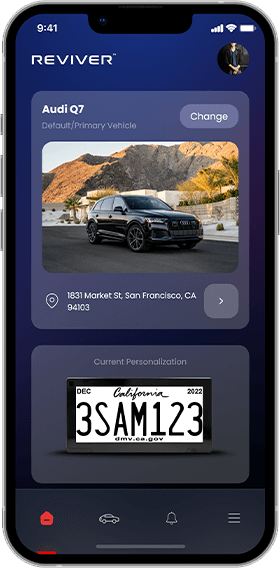
- For individual customers, they can use the smartphone app provided by Reviver to sync their RPLATE with their Reviver account. This will allow them to complete the provisioning process and ensure that their license plate is successfully connected to their account.
- If you have fleet vehicles under a Reviver fleet contract, you will need to follow the procedure for assigning the RPLATE to the desired vehicle on the fleet dashboard. Once you see a license plate image displayed, it means that the RPLATE has been successfully provisioned. If you encounter any issues with provisioning on the dashboard, please contact support through the RFLEET Portal at https://rconnect.rplate.com/fmc-dashboard.
- Take the vehicle outside of the installation area for proper LTE signal reception during syncing.
- Follow the on-screen instructions to complete the provisioning process
Completion and Troubleshooting
- Once you see the license plate image generated on the screen of the app/RFLEET Portal, press and hold the button located on the bottom right of the plate for 8-10 seconds. This will initiate the download of the plate image. After the image has finished downloading, press and hold the button again for another 8-10 seconds to fully activate the plate.
- Once the customer's license number appears on the plate, the installation is finished.
.png?width=688&height=387&name=Screenshot%202023-08-23%20at%204.04.18%20PM%20(3).png)
- If you encounter issues or have questions about installation, contact Reviver support at

 650-479-9896 or email installationsupport@reviver.com.
Ensure to follow safety guidelines, vehicle-specific instructions, and the provided installation manual while installing the RPLATE.