
This guide provides instructions for safely removing the Wired RPlate from your vehicle. Follow the steps below to ensure a smooth removal process.

Removal Steps
Step 1: Start by removing the fuse/power leads from the battery or fuse panel. This should be done first to ensure safety.
Remove the screw covers of the RPlate located on the right-hand side of the plate. It is recommended to use a non-conductive pry tool to prevent any scratches on the plate.
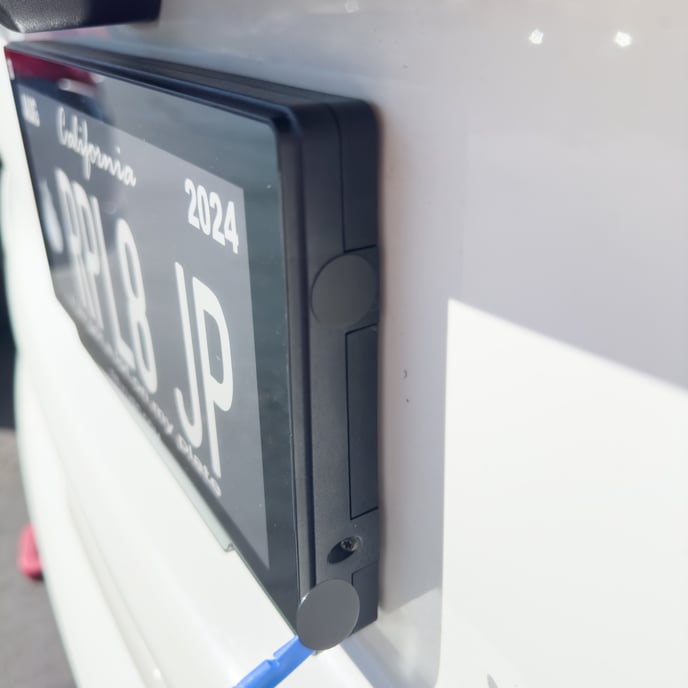
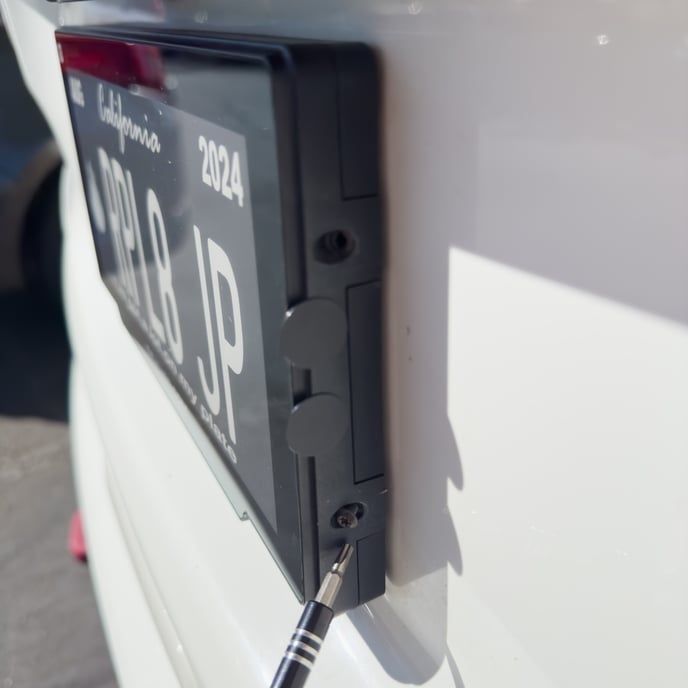
Step 2: Use a torx 10 L wrench or a screwdriver to loosen the screws securing the RPlate on the right-hand side. Exercise caution when removing the screws to prevent any damage to the paint.
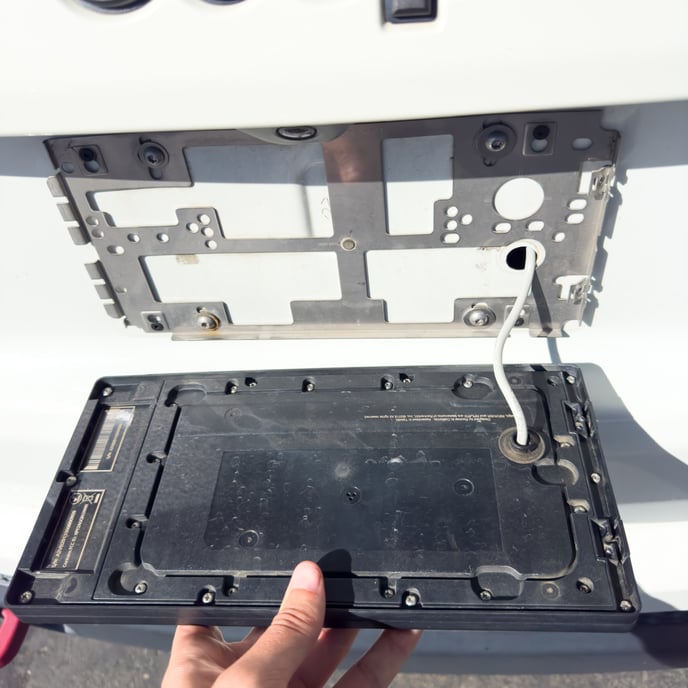
Step 3: Gently pull the right-hand side of the RPlate towards you, approximately 1-2 inches. Then, slide the plate to the left to detach it.
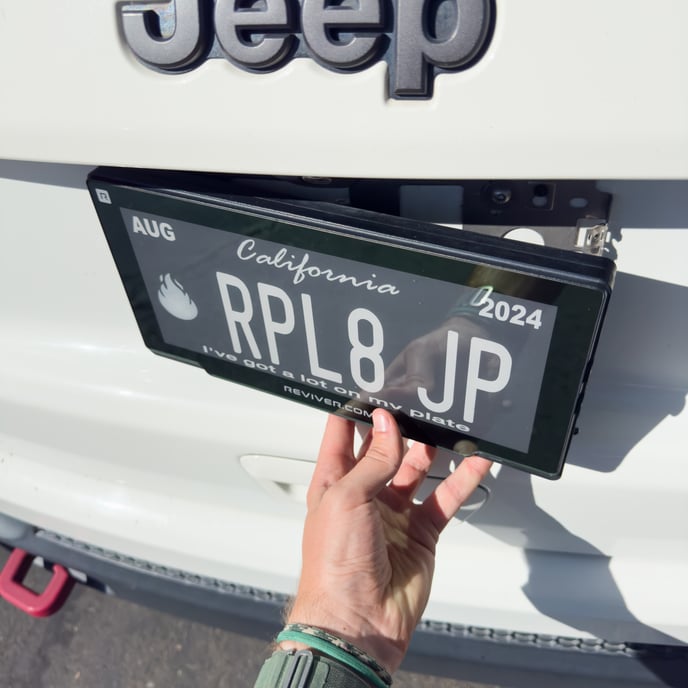
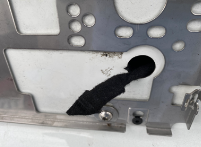
Step 4: With the RPlate removed from the metal bracket, apply light force to pull the plate and wire approximately 3-5 inches away from the vehicle. Remove the rubber grommet from the body using a non-conductive pry tool.
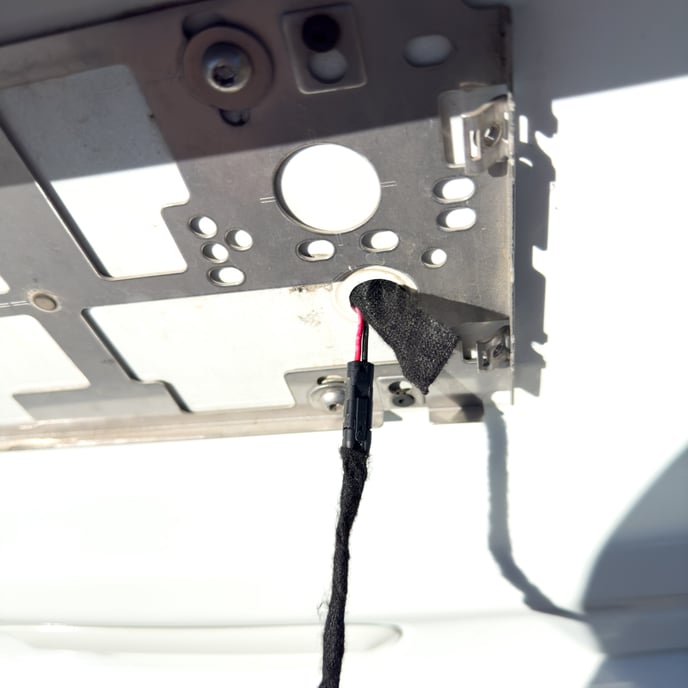
Step 5: If you see a quick disconnect similar to below, you have the option to disconnect the RPlate using this procedure.
 However, if there is no quick disconnect, you will need to disconnect the power and ground wires as follows:
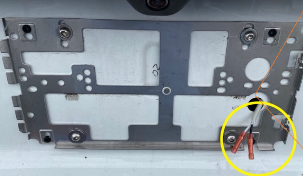
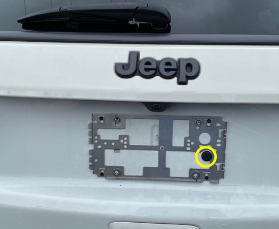
To disconnect the power and ground wires, carefully use wire cutters and a knife to cut each wire individually. Take precautions to prevent a short circuit. Splice the white and black wires and secure them using Install Bay RNBM 24-26 gauge butt connectors circled in yellow. Use PVC electrical tape to cover the connectors and prevent rattling. 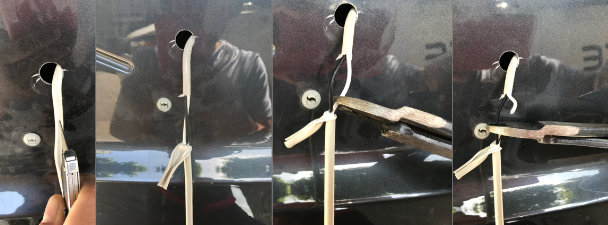
Step 6: If the customer wants to completely remove the wires, carefully extract them from the car. However, if the customer prefers to leave the wires in place, make sure to cap them to prevent any short circuits, and then push the wires back into the grommet hole. Afterward, reinstall the rubber grommet into the ½" opening, making sure it securely clicks into place. The rubber grommet serves as a protective barrier against dust and water. Lastly, remove the RPlate metal bracket from the vehicle.
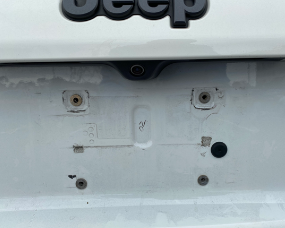
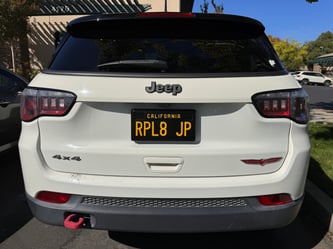
Step 7: Install the metal plate into the license plate opening of the vehicle. Verify that the metal plate matches the vehicle registration and ensure the year registration sticker is up to date.
