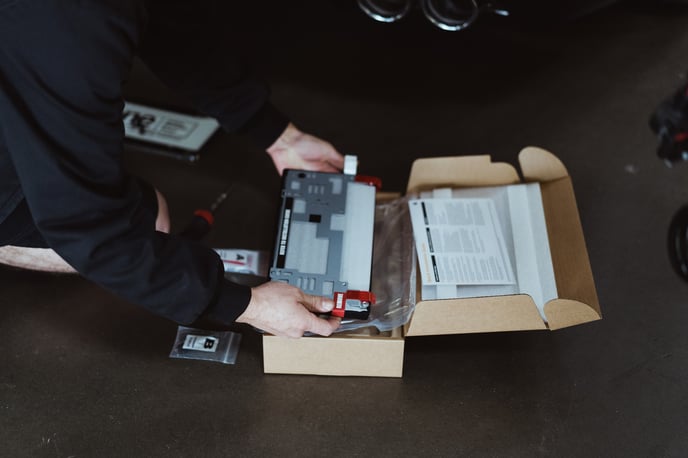
Installing Reviver's digital license plate is quick and easy. Follow these steps for a successful installation.
Installation
Installing Reviver's digital license plate is quick and easy. Follow these steps for a successful installation.
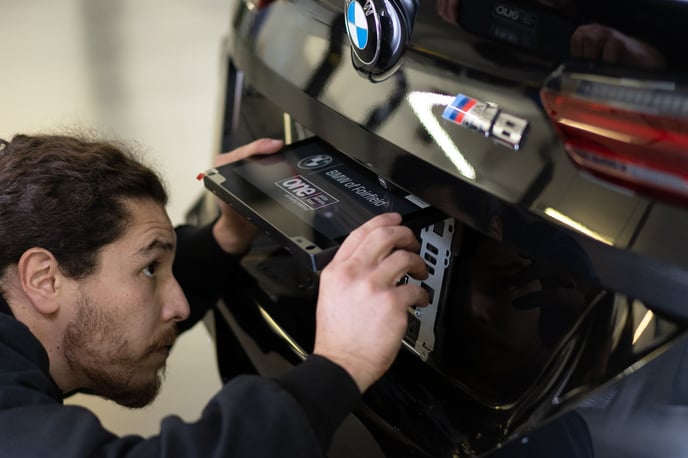
Step 1: Remove the stock dealership bracket from the back of the vehicle. If there is a stand-up bracket, you can leave it in place.
Step 2: Position the Reviver digital license plate bracket using the provided holes, making sure that there is nothing interfering with the back-up camera or other parts of the vehicle.
Step 3: Use the provided screws in A bag to attach the bracket to the vehicle. Make sure to match the screws provided to whatever came off the vehicle with the previous vinyl plate attached.
Using the same screws may cause the plate to detach if the head is too large.
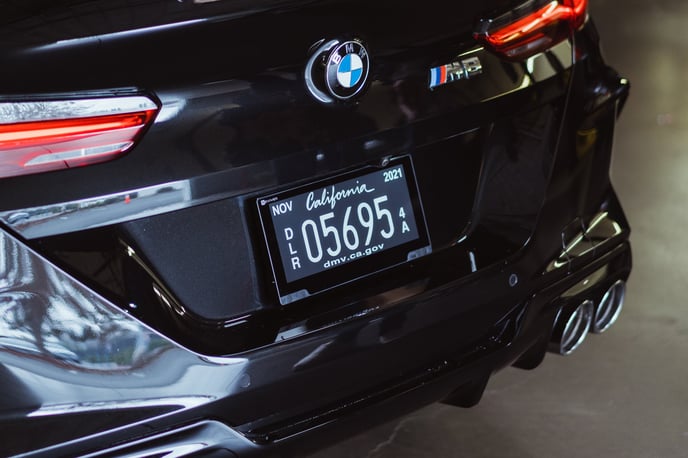
Step 4: Attach the Reviver digital license plate and use the screws provided in the B bag to secure it in place.
A pro tip for pre-installed plates is to leave the adhesive red covers on until the plate is sold. This makes the removal process much easier because they are very sticky.
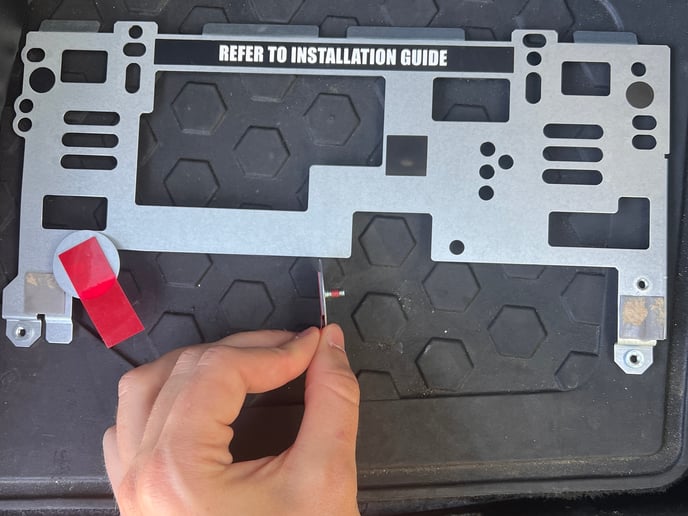
The Role of 4-Hole Brackets and Spacers
4-hole brackets and spacers may be necessary for certain vehicles to ensure a proper fit. When using a 4-hole bracket, an additional set of screws is used to attach the bracket to the vehicle. On the other hand, spacers can be found in "Bag C" and are screwed into the bracket before attaching it to the vehicle. These spacers create distance between the bracket and the vehicle. Follow the steps below to install the spacers:
- Open "Bag C" and locate the spacers.
- Attach both spacers to the Rplate bracket by screwing them into the bottom threads on the bracket. One spacer should be screwed into the bottom left thread, and the other into the bottom right thread.
- Use the screws from "Bag A" to attach the bracket to the vehicle.
- Finally, remove the adhesive covering on the spacers and press them down firmly for 10 seconds.
Pairing to Bluetooth
To connect via Bluetooth, ensure that the RPlate is properly installed and that you have created an account using the email link and signed in to the downloaded app.
To initiate pairing:
- Click the button on the front of the plate.
- Wait 8-12 seconds for the Bluetooth icon to appear on the bottom left of the RPlate.
- On the app, Click "Ready to Install" or "Start Pairing" when the Bluetooth icon appears on the Rplate.
- When prompted, select "Pair" to the device and keep the app open and next to the RPlate for 30-90 seconds until "data downloading" disappears from the RPlate.
There is a small window to pair, so if the timing is not right you will get an Unsuccessful Paring notification. Try again.
For initially pairing an RPlate to a device, 10 seconds after the license plate image is downloaded to the RPlate, the Bluetooth icon will automatically appear.
Please ensure the device has Bluetooth enabled for the Reviver app in device settings.
We hope this launch and training session have provided you with all the knowledge and the skills you need to be successful in selling digital license plates. Remember to always emphasize the unique benefits of our product, utilize the RConnect portal to streamline the sales process, and ensure that every installation is done correctly.